↑↑↑ The best wrapping paper I ever bought- #WhatIGot vs. #WhatIWishIGot! Read more about it here & snatch some up here. ↑↑↑
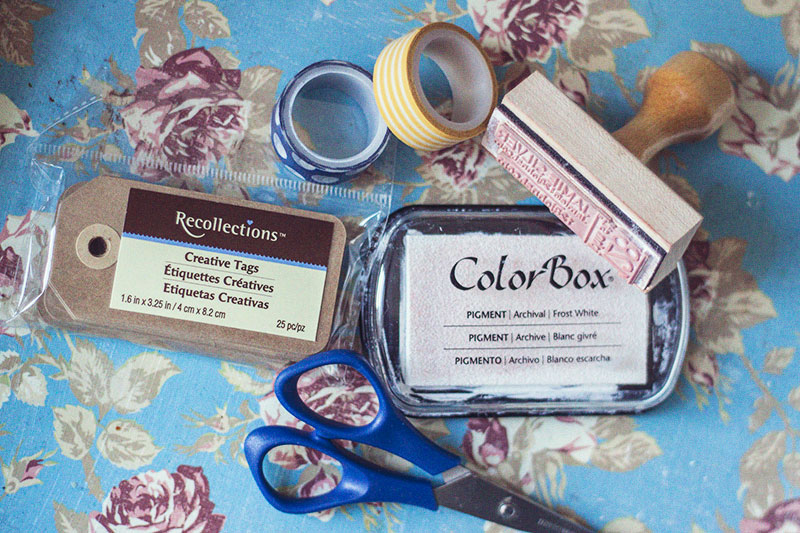
I love wrapping gifts for the holidays. My favorite part is using stuff I already have around the house, like paper shopping bags, twine and stamps. I don't know what I am doing yet this year, but here are some of my favorite ideas from around the web.
Use different colored fabric and lace.
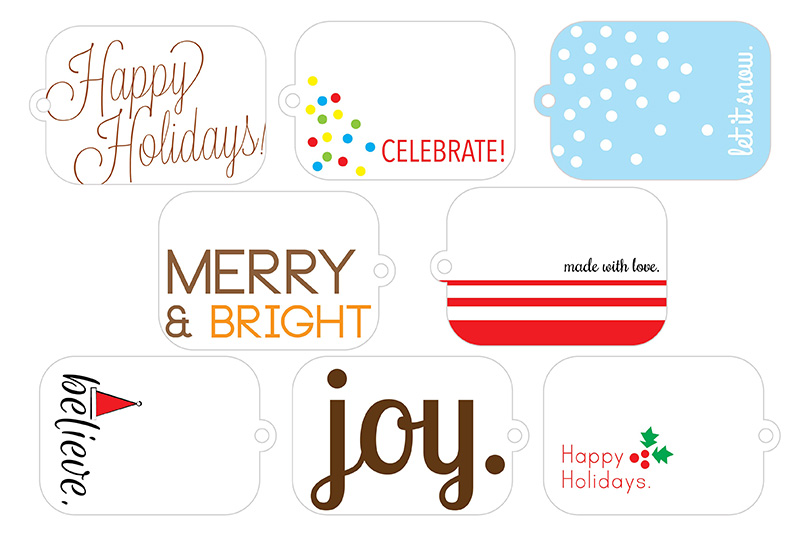
Print tags from your favorite Instagram photos.
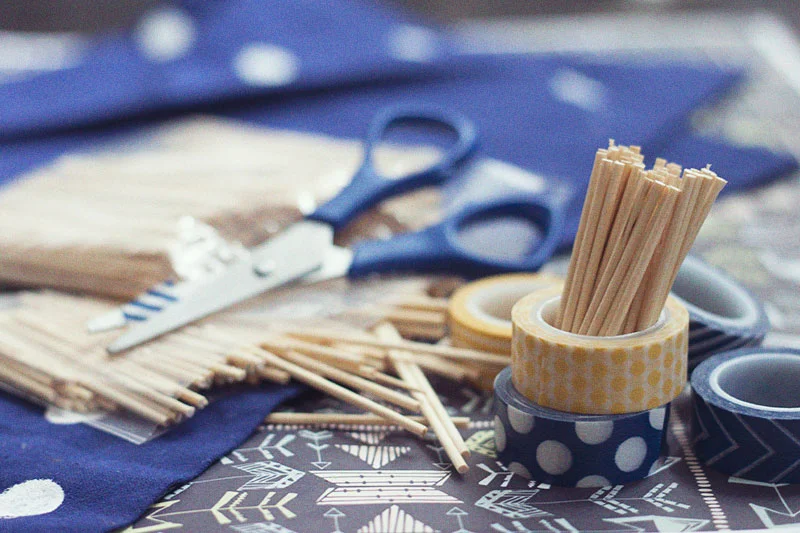
We love washi tape, and it couldn't be more versatile!
These adorable adorned glitter clothespins.
Paper forest box toppers.
Kraft paper and silver marker doodles.
Paper Snowflakes are super simple.
Using simple star stickers is pure genius.
Make your own potato stamped wrapping paper.
How are you wrapping your gifts this year?