

Who doesn't freakin' love blueberry, raise your hand... I don't see any hands raised so I'm going to go with NO BODY. I mean, not only are they BEAUTIFUL IN COLOR but they are tasty as can be! Baked, they get even better.
When I was trying to decide on what recipe to use for my AltSummit card, I struggled, hard. I LOVED the Pineapple-Upside-Down cupcake we did a few weeks ago, and I had thought that it would be so versatile. WRONG.
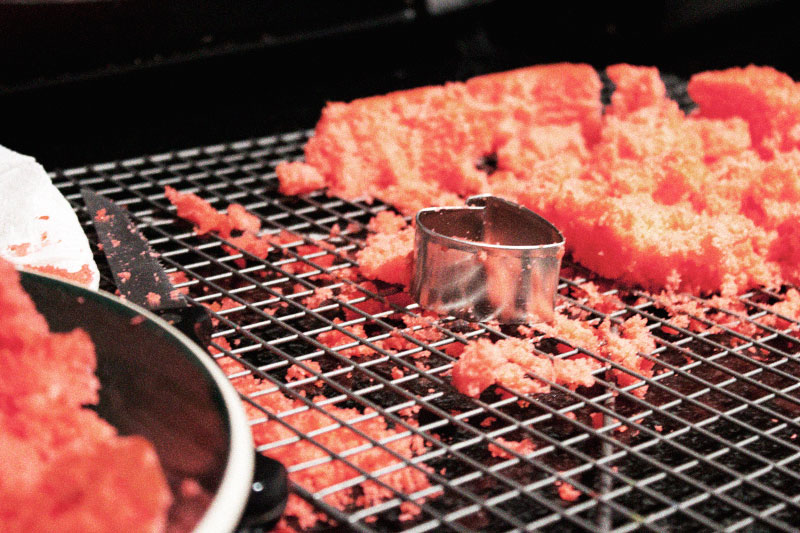
Here's the issue. Yes. It was a fantastic cake. Yes, I want to eat it ALLLLLL THE TIME. BUTTTTT because the batter is so loose, the roasted blueberries sank to the bottom, which made for a problem scenario. The blueberries sunk (and I might have to admit that I used a MASSIVE AMOUNT OF BLUEBERRIES so it took up half the liner when they sunk- oopsies) and the cupcake just couldn't bake properly. So, lesson learned, loose batters are NOT ideal for adding fruit. You're welcome. (They were VERY tasty, but they overflowed funny, and looks all cray-cray so there was NO WAY I could use it for my AltSummit recipe!)
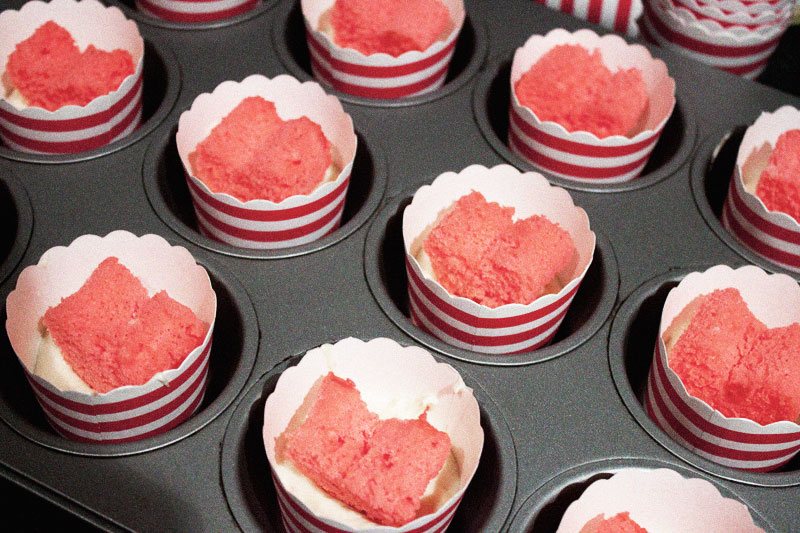
OK MOVING ON! Second try on this, and we have a winner! I scraped the idea of reusing the other batter and it worked out just fine!
CLICK HERE FOR THE FREE DOWNLOADABLE RECIPE CARD.
Yields 12 Cupcakes in a standard cupcake pan

FOR THE BATTER /
1 ⅓ cup flour
3 tbsp. corn starch
¼ tsp. baking soda
1 tsp. baking powder
½ tsp. salt
1 tsp. cinnamon
1 stick unsalted butter, room temperature
⅓ cup sugar
2 eggs, room temperature
1 tsp. vanilla
¾ cup vanilla yogurt
1 ¼ cup fresh blueberries
Zest of ½ a lemon

1 / Preheat oven to 375˚. Line a standard cupcake pan with 12 liners.
2 / Destem and clean the blueberries. Lay blueberries out on a cake or cookie pan (with sides). Place on center rack of the oven and cook for 10 minutes, or until blueberries start to burst. Remove from oven and allow to come to room temperature.

3 / Sift together the flour, cornstarch, baking soda, baking powder, salt and cinnamon. Set aside.
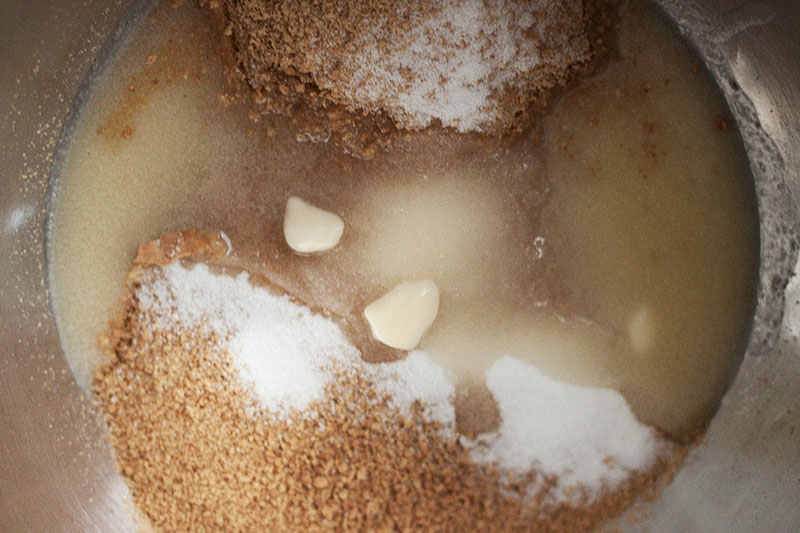
4 / Beat together the butter and sugar until light and fluffy, then beat in eggs.
5 / Mix the vanilla into the yogurt.
6 / Alternating between the dry ingredients and the yogurt, beat the ingredients into the butter mixture until well combined.
7 / Zest half a lemon and fold into the batter.

8 / Gently fold in the roasted blueberries.

9 / Fill the cupcake liners evenly, ⅔ the way full. Bake for 21-25 minutes, or until a cupcake tester inserted in the center comes out clean and the edges of the cupcake are golden brown.

FOR THE FROSTING /
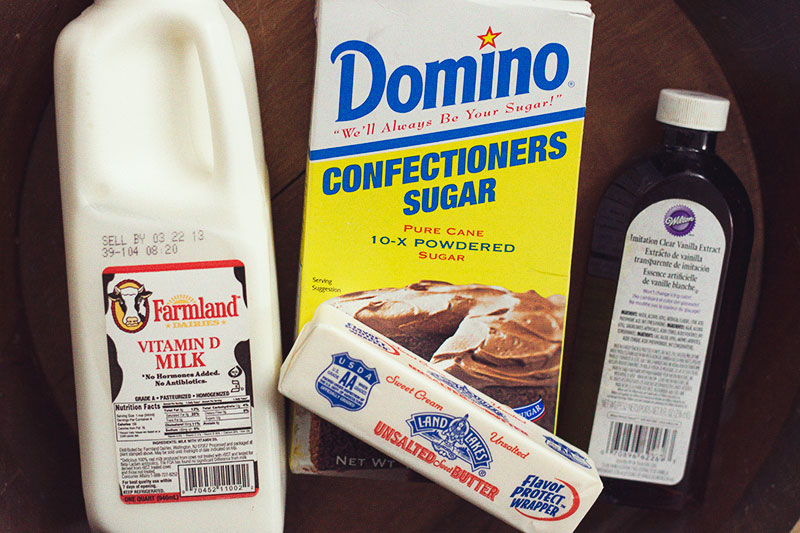
1 stick butter, room temperature
8 oz. container of cream cheese
½ tsp. vanilla
2 ⅔ cup confectioners’ sugar
¼ cup blueberry jam

1 / Beat together the butter and cream cheese. *Guys, I've been into using the round container of cream cheese instead of bars lately, I feel like they get a creamier frosting, I may never go back!
2 / Add the vanilla.
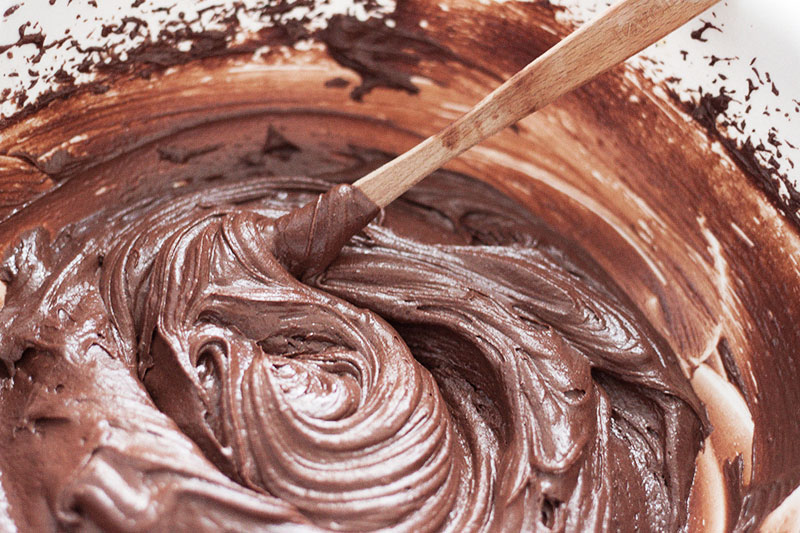
3 / Slowly, in 3 parts, beat in the confectioners sugar until there are no lumps and the consistency is even.
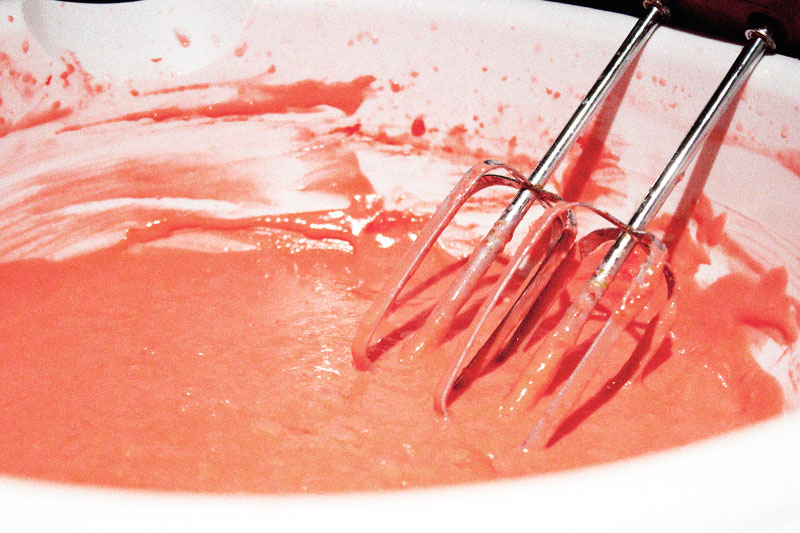
4 / To swirl the frosting and jam, add a large spoon-full of blueberry jam to the center of the bowl of cream cheese frosting. Do not mix the jam with the frosting. (Just like we did with the lemon poppyseed cupcakes a while back.)
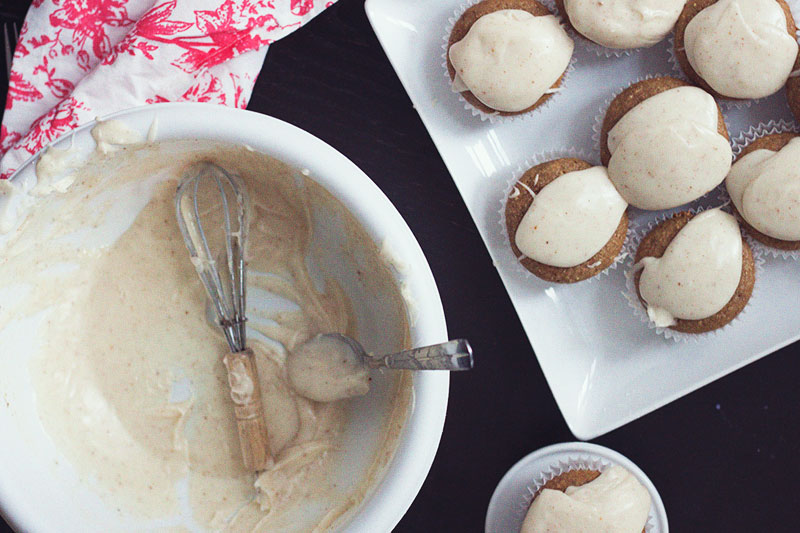
5 / Spoon the frosting (with the jam in it) into a frosting bag and pipe as normal. The jam and frosting will swirl naturally!

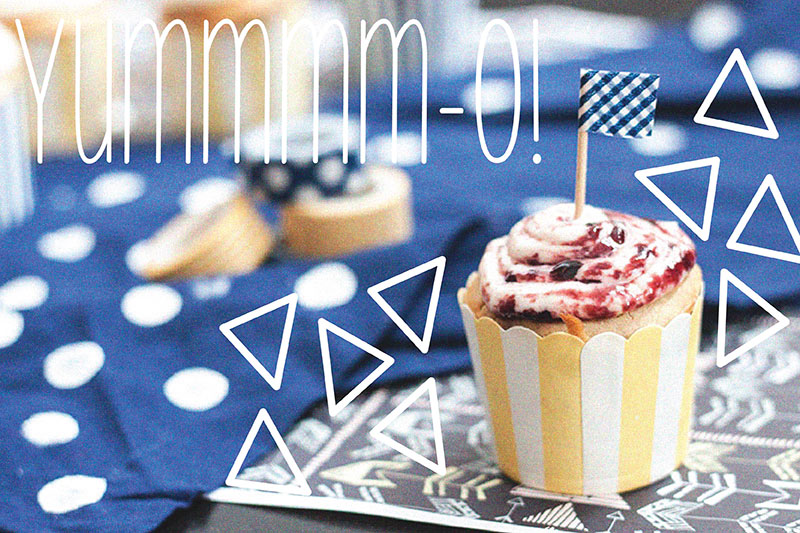
You can see the washi tape flags getting all ready to jazz up the place.
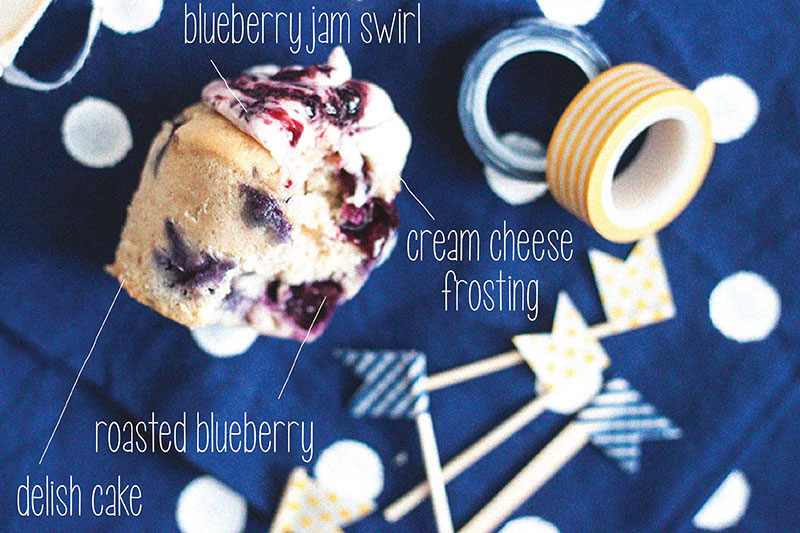
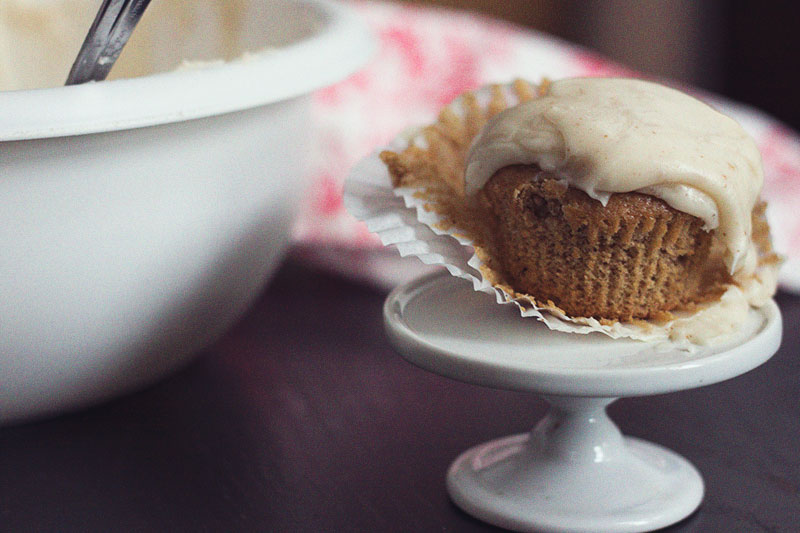
I don't ever need an excuse to eat a cupcake, but I have to say, these would make a lovely breakfast treat! By roasting the blueberries before we folded them into the batter we are bringing out an extra bit of sweetness and flavor, which sets them apart form any other blueberry cupcake I have eaten.
I hope some of my fellow Alt attendees with give it a try and send me some pics! I think next time, I'd add some brown sugar topping, what do you think?


